SETUP OF THE AVAILABILITY TEST
SKIPLINE WITH AVAILABILITY CHECK
SKI RENTAL | BIKE RENTAL | SURF RENTAL | KITE RENTAL | CANOE RENTAL | COSTUME RENTAL | BOAT RENTAL | CLIMBING GYMS | SPORTS STORES
SET UP THE AVAILABILITY CHECK IN THREE STEPS
1. Specify availability
The item inventory of your rental company must be correctly recorded in your master data.
2. Select rental item
The customer selects the desired product on your Skipline landing page.
3. Show availability
If the item data is maintained correctly, the availability of the product is displayed immediately.
VARIOUS QUERY OPTIONS
Product related representation
Depending on the product group, availability can be calculated and displayed differently. The primary goal is usually that the item is suitable for the customer. Very often, therefore, it will be about the right size (shoe size, frame size, ski length, etc.) But it may also be that you want to allow the customer to choose according to specific brands. In that case, the manufacturer would be added as a choice. Skipline therefore offers the possibility to specify the availability query in different ways: From a simple number in a price group to a combination of properties of the product.
PRESENTATION OF THE TOTAL NUMBER
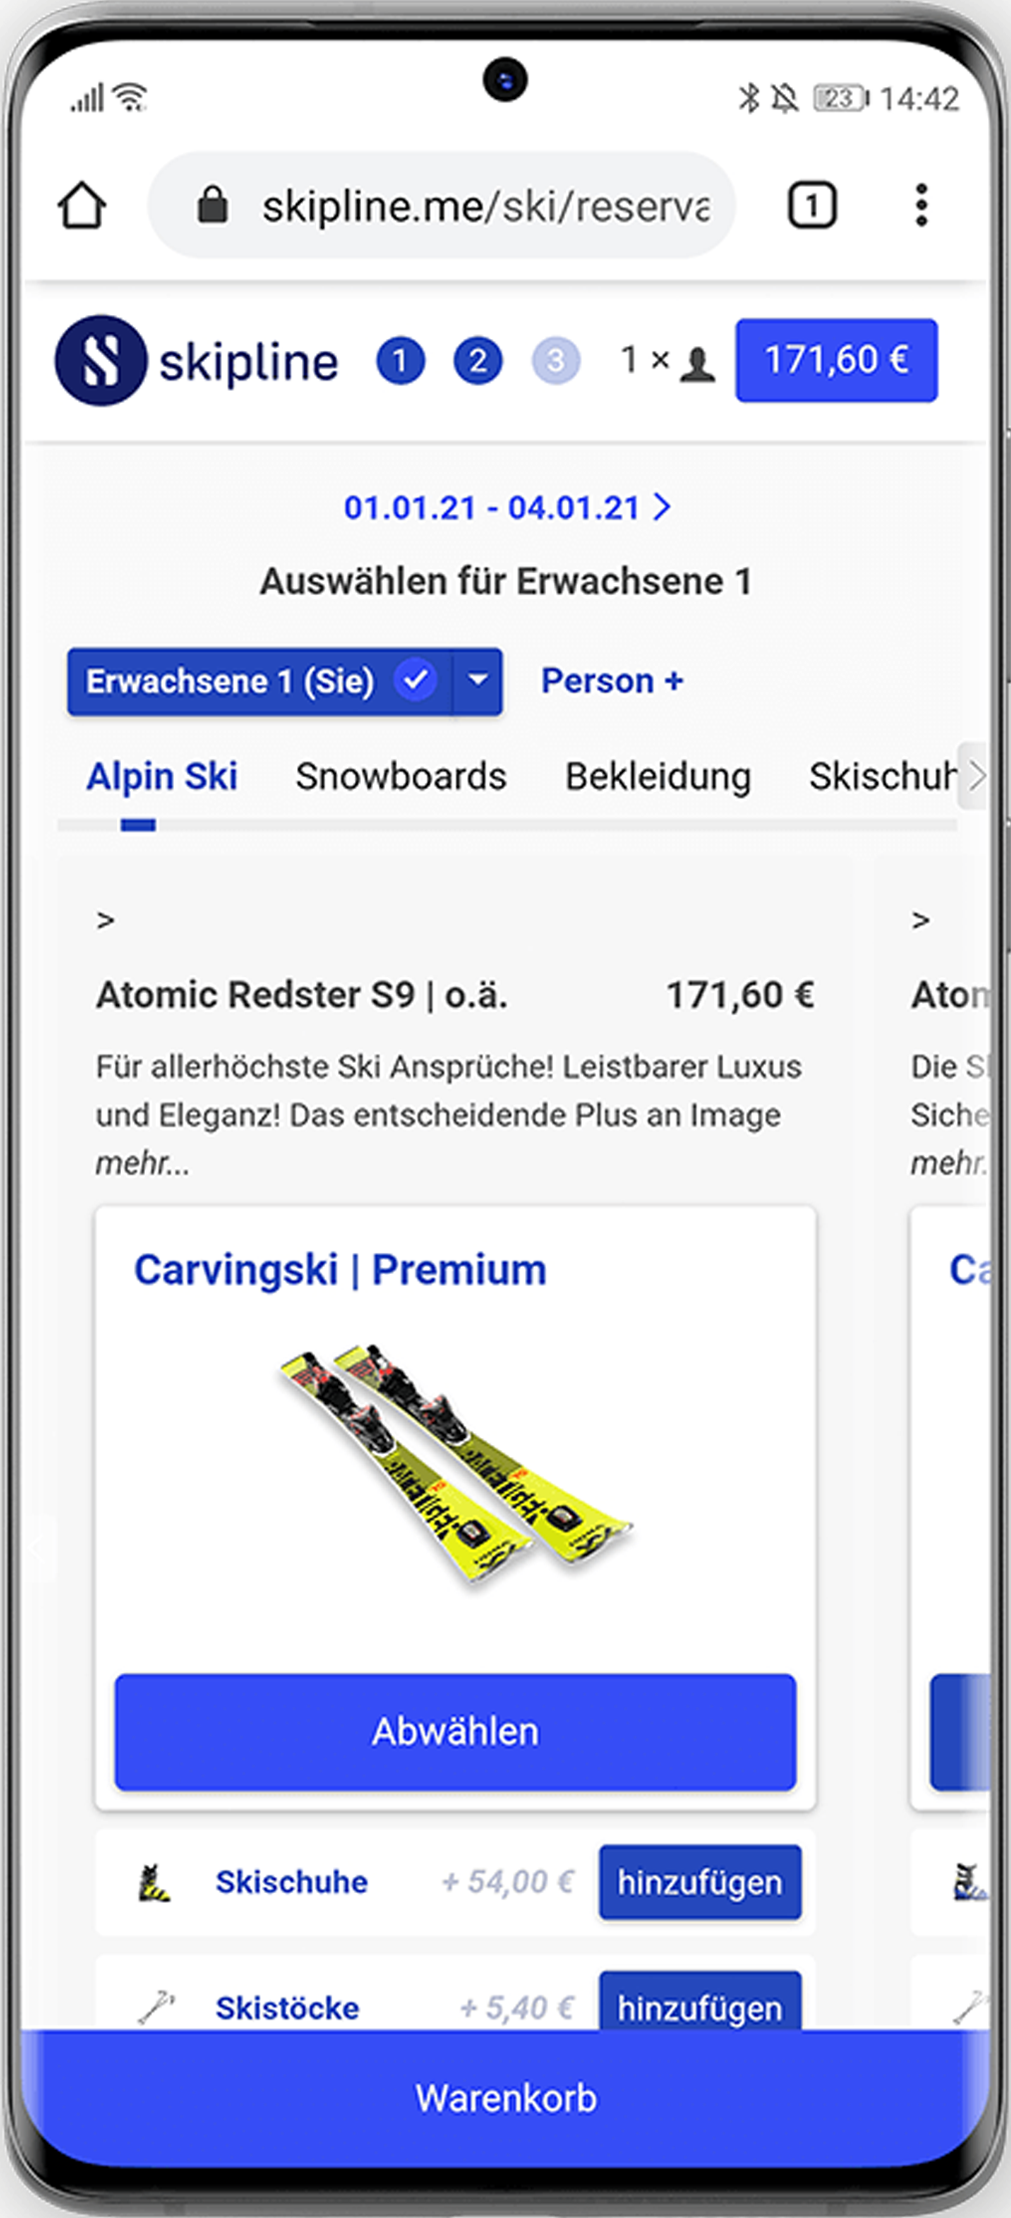
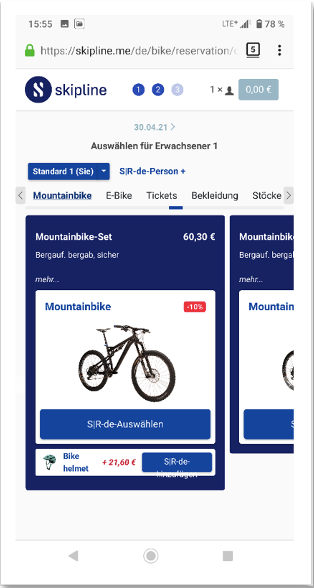
This is the classic representation. The sum of all articles within a price group is represented. A distinction by size or brand does not take place.
PRESENTATION WITH PROPERTY
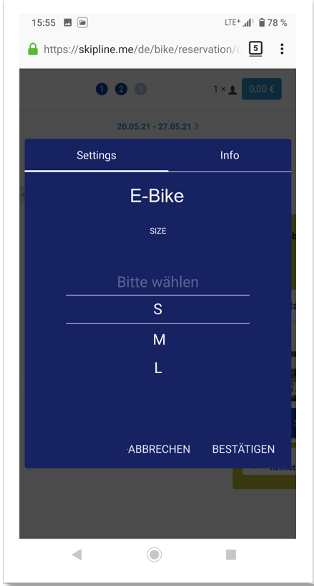
Displayed is the sum of all items within a price group, in addition, a customer can select, for example, the desired size. Only available sizes for the selected period are displayed.
REPRESENTATION WITH COMBINATION
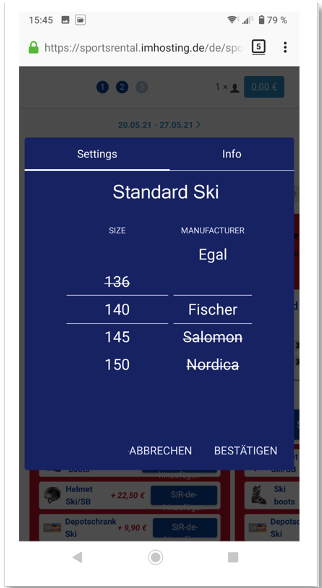
The sum of all items within a price group is displayed. Customers can select the desired size and available brands. Only available sizes and brands are displayed.


SETTING THE AVAILABILITY
IN TWO STEPS TO THE AVAILABILITY CHECK
For different products, different properties (size, manufacturer, etc.) are possible and must be specified. So for a bike the frame size, for a shoe the shoe size and for a premium bike the brand is important. The settings are made in two places:
STEP 1:
PREPARATION ARTICLE STAMP DATA
First check whether your master data is created correctly and all properties have been maintained. Example: A wheel in the frame size XL should have a corresponding size specification and property in the master data. The articles can also be selected by multi-select and with F7 types and properties can be assigned at the same time. Due to the S|R server running in the background, the availability in the online reservation is also adjusted when the settings are updated.
STEP 2: DASHBOARD SETTINGS
In the dashboard, define what should be displayed.
When you have updated the item data, you can specify what to display in the dashboard. You can specify which selection to display for items and you can specify which selection is mandatory. These settings can be changed at any time. Please note that there is a slight time difference between when the settings are saved and when they become "live"


